You know when you used to walk by an Auntie Anne’s in the mall and smell the most amazing brown sugar cinnamon pretzel bites being freshly baked? Imagine that smell, but at home, in your own oven, and getting to enjoy them the minute they come out of the oven. Thats the exact feeling the second you pull these out of the oven – delightful!
I’ll be fully upfront here – these cinnamon sugar twists are an ambitious bake… otherwise known as, they aren’t the easiest! But by reading the recipe all the way through before you start, and with a bit of patience (and attention to detail), you can nail this recipe time and time again!
I’d also highly recommend utilizing the process photos to help you visualize this bake all the way through!
Tools Needed for Cinnamon Sugar Twists
Large mixing bowl – For making the dough! (and another for rising, or just clean the bowl between making the dough and letting it rise.)
Offset spatula of any size – For spreading the brown sugar maple butter filling.
Bench scraper – To cut the dough into quadrants and to cut off uneven edges! You can also use a large very sharp kitchen knife!
Measuring tape – for measuring the dough into a 12×12 square when we roll it out.
Large baking sheet – for baking the twists!
Making The Dough
A quick (but important note on the temperature noted above for the liquids. Without the proper temperature (ie: if they aren’t warm enough), the yeast will not activate as it’s mixed with the wet ingredients. Conversely, if the wet ingredients are too hot, they will kill the yeast. A good rule of thumb is lukewarm milk & water will let the yeast bloom!
Then, once the yeast is all activated and frothy (key visual indicator!) combine the mixture with the remainder of the wet ingredients, those being 1 whole egg + 1 egg yolk, 1/4 cup melted unsalted butter, and cane sugar. Whisk everything together until combined, and then add in 2 & 1/4 cup all purpose flour and 1/2 tsp salt. Mix everything into a rough dough (ie: until all of the ingredients together look like a big lump with some flour floating around in the bowl and around the dough). At this point, it’s time to knead the dough!
Kneading The Dough
Kneading is the next step in the process. It’s basically where we get our hands dirty and create the structure of the dough that’ll hold it together as it bakes. It is a fairly simple process that a lot of people are already familiar with, but if you’ve never kneaded dough before, here there is a very simple tutorial! You’ll want to knead your dough until it is smooth and no longer sticks to your hands when kneading it, about 5 minutes – but continue kneading past 5 minutes if your dough is not smooth and less sticky at that point. I also highly recommend adding 2 Tablespoons of all purpose flour during the kneading process which will help the dough come together and not be as sticky during the kneading process.
Letting it Rest (Proofing)
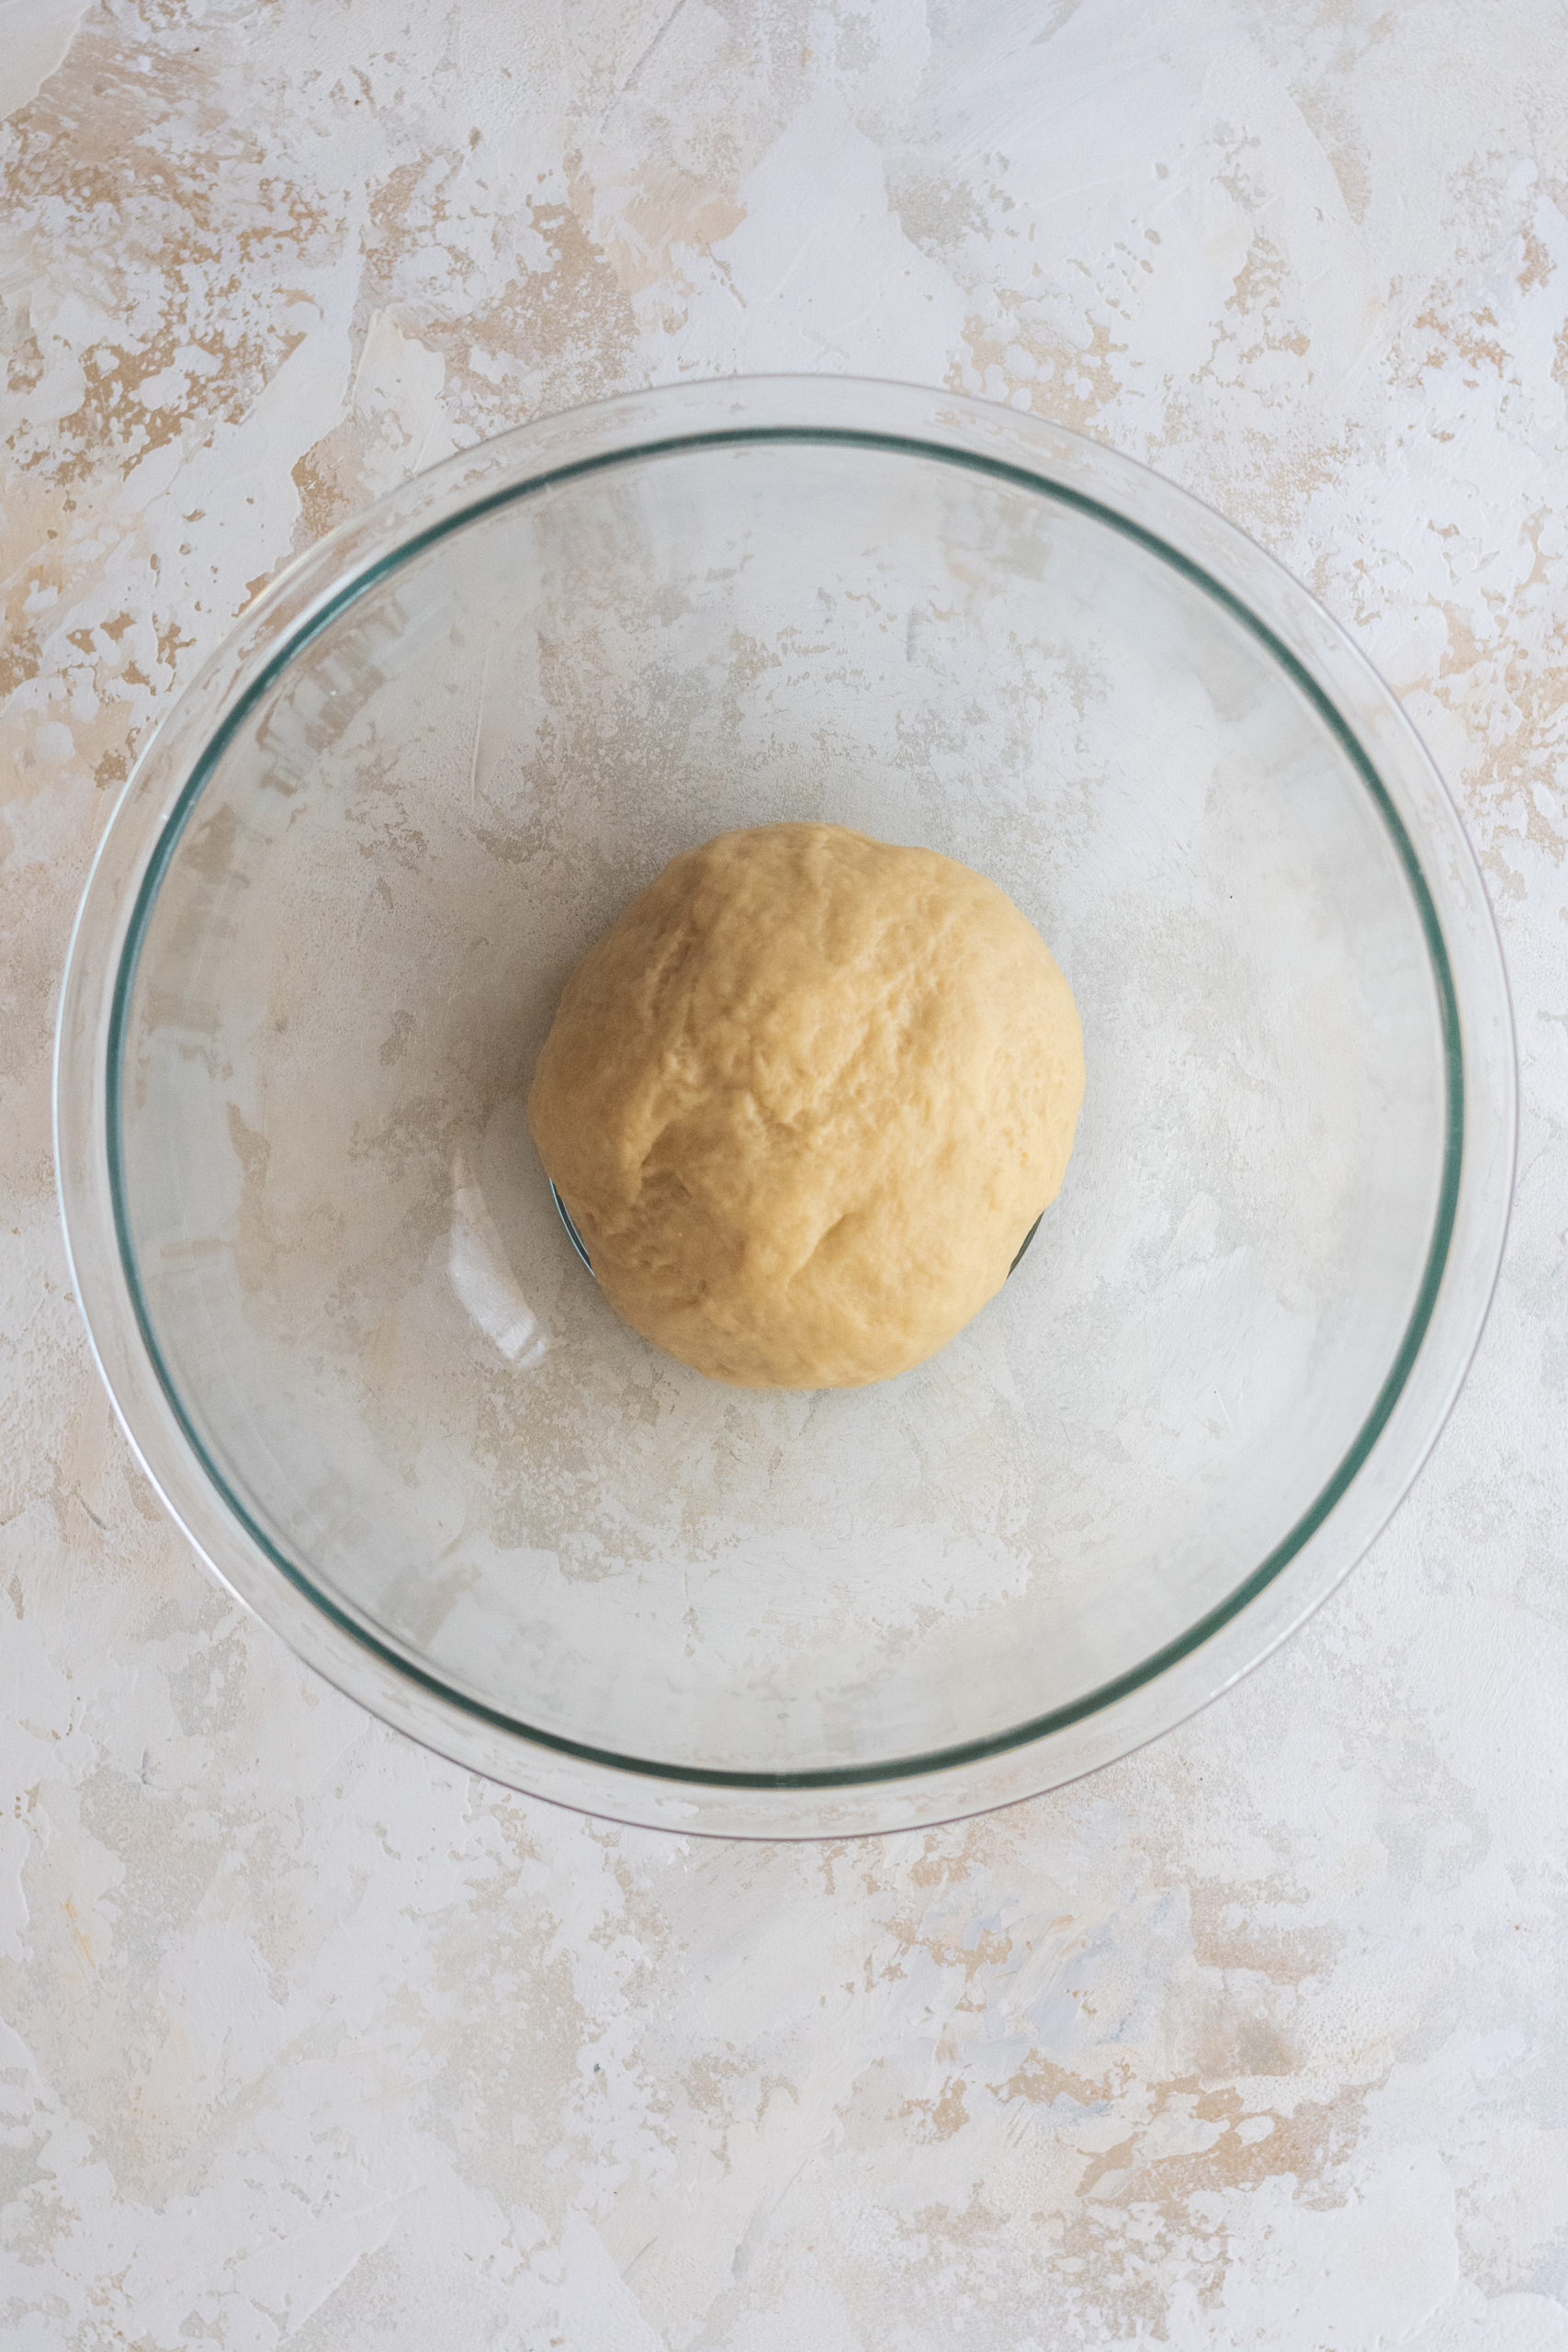
Finally, proofing. This is one of the most important parts of recipes that rely on yeast as the leavening agent. The process of letting your dough rest in a dark, slightly warm place is essentially what makes the dough for these twists light and fluffy. Proofing gives the dough time to produce air bubbles prior to baking. Place the dough into a lightly greased large bowl and cover with a clean kitchen towel. Place the covered dough into a dark place (for example inside of the oven turned off) and let it rest for 1 hour. During this time, the dough will double in size.
The Brown Sugar Maple Butter Filling
While the dough is proofing, we’ll make the delicious brown sugar maple butter filling! This is a simple combination of 1/4 cup room temperature unsalted butter, 1 & 1/2 tablespoons maple syrup, 3 Tablespoons of room temperature maple syrup (very important to be room temperature or it will not combine smoothly with the butter! if needed, microwave it for 4 – 5 seconds), brown sugar & 1 tsp cinnamon. Creating it is simple! First, add room temperature butter to a mixing bowl, and cream the butter. With a hand mixer or stand mixer, mix the butter on low-medium speed for about 2 – 3 minutes. Make sure to scrape down the sides in between mixing. You’ll know when the butter is creamed when it is smooth and light in color. Once the butter is smooth and creamy, add in maple syrup, brown sugar & cinnamon. Continue mixing until everything is well incorporated and set aside.
Creating The Layers of Dough
Once the dough has rested for one hour, it should have approximately doubled in size. At this point, turn it out again onto a clean, floured surface and roll the dough to a 12×12 square. It’s ok if it isn’t perfect, just approximately 12×12 is great!
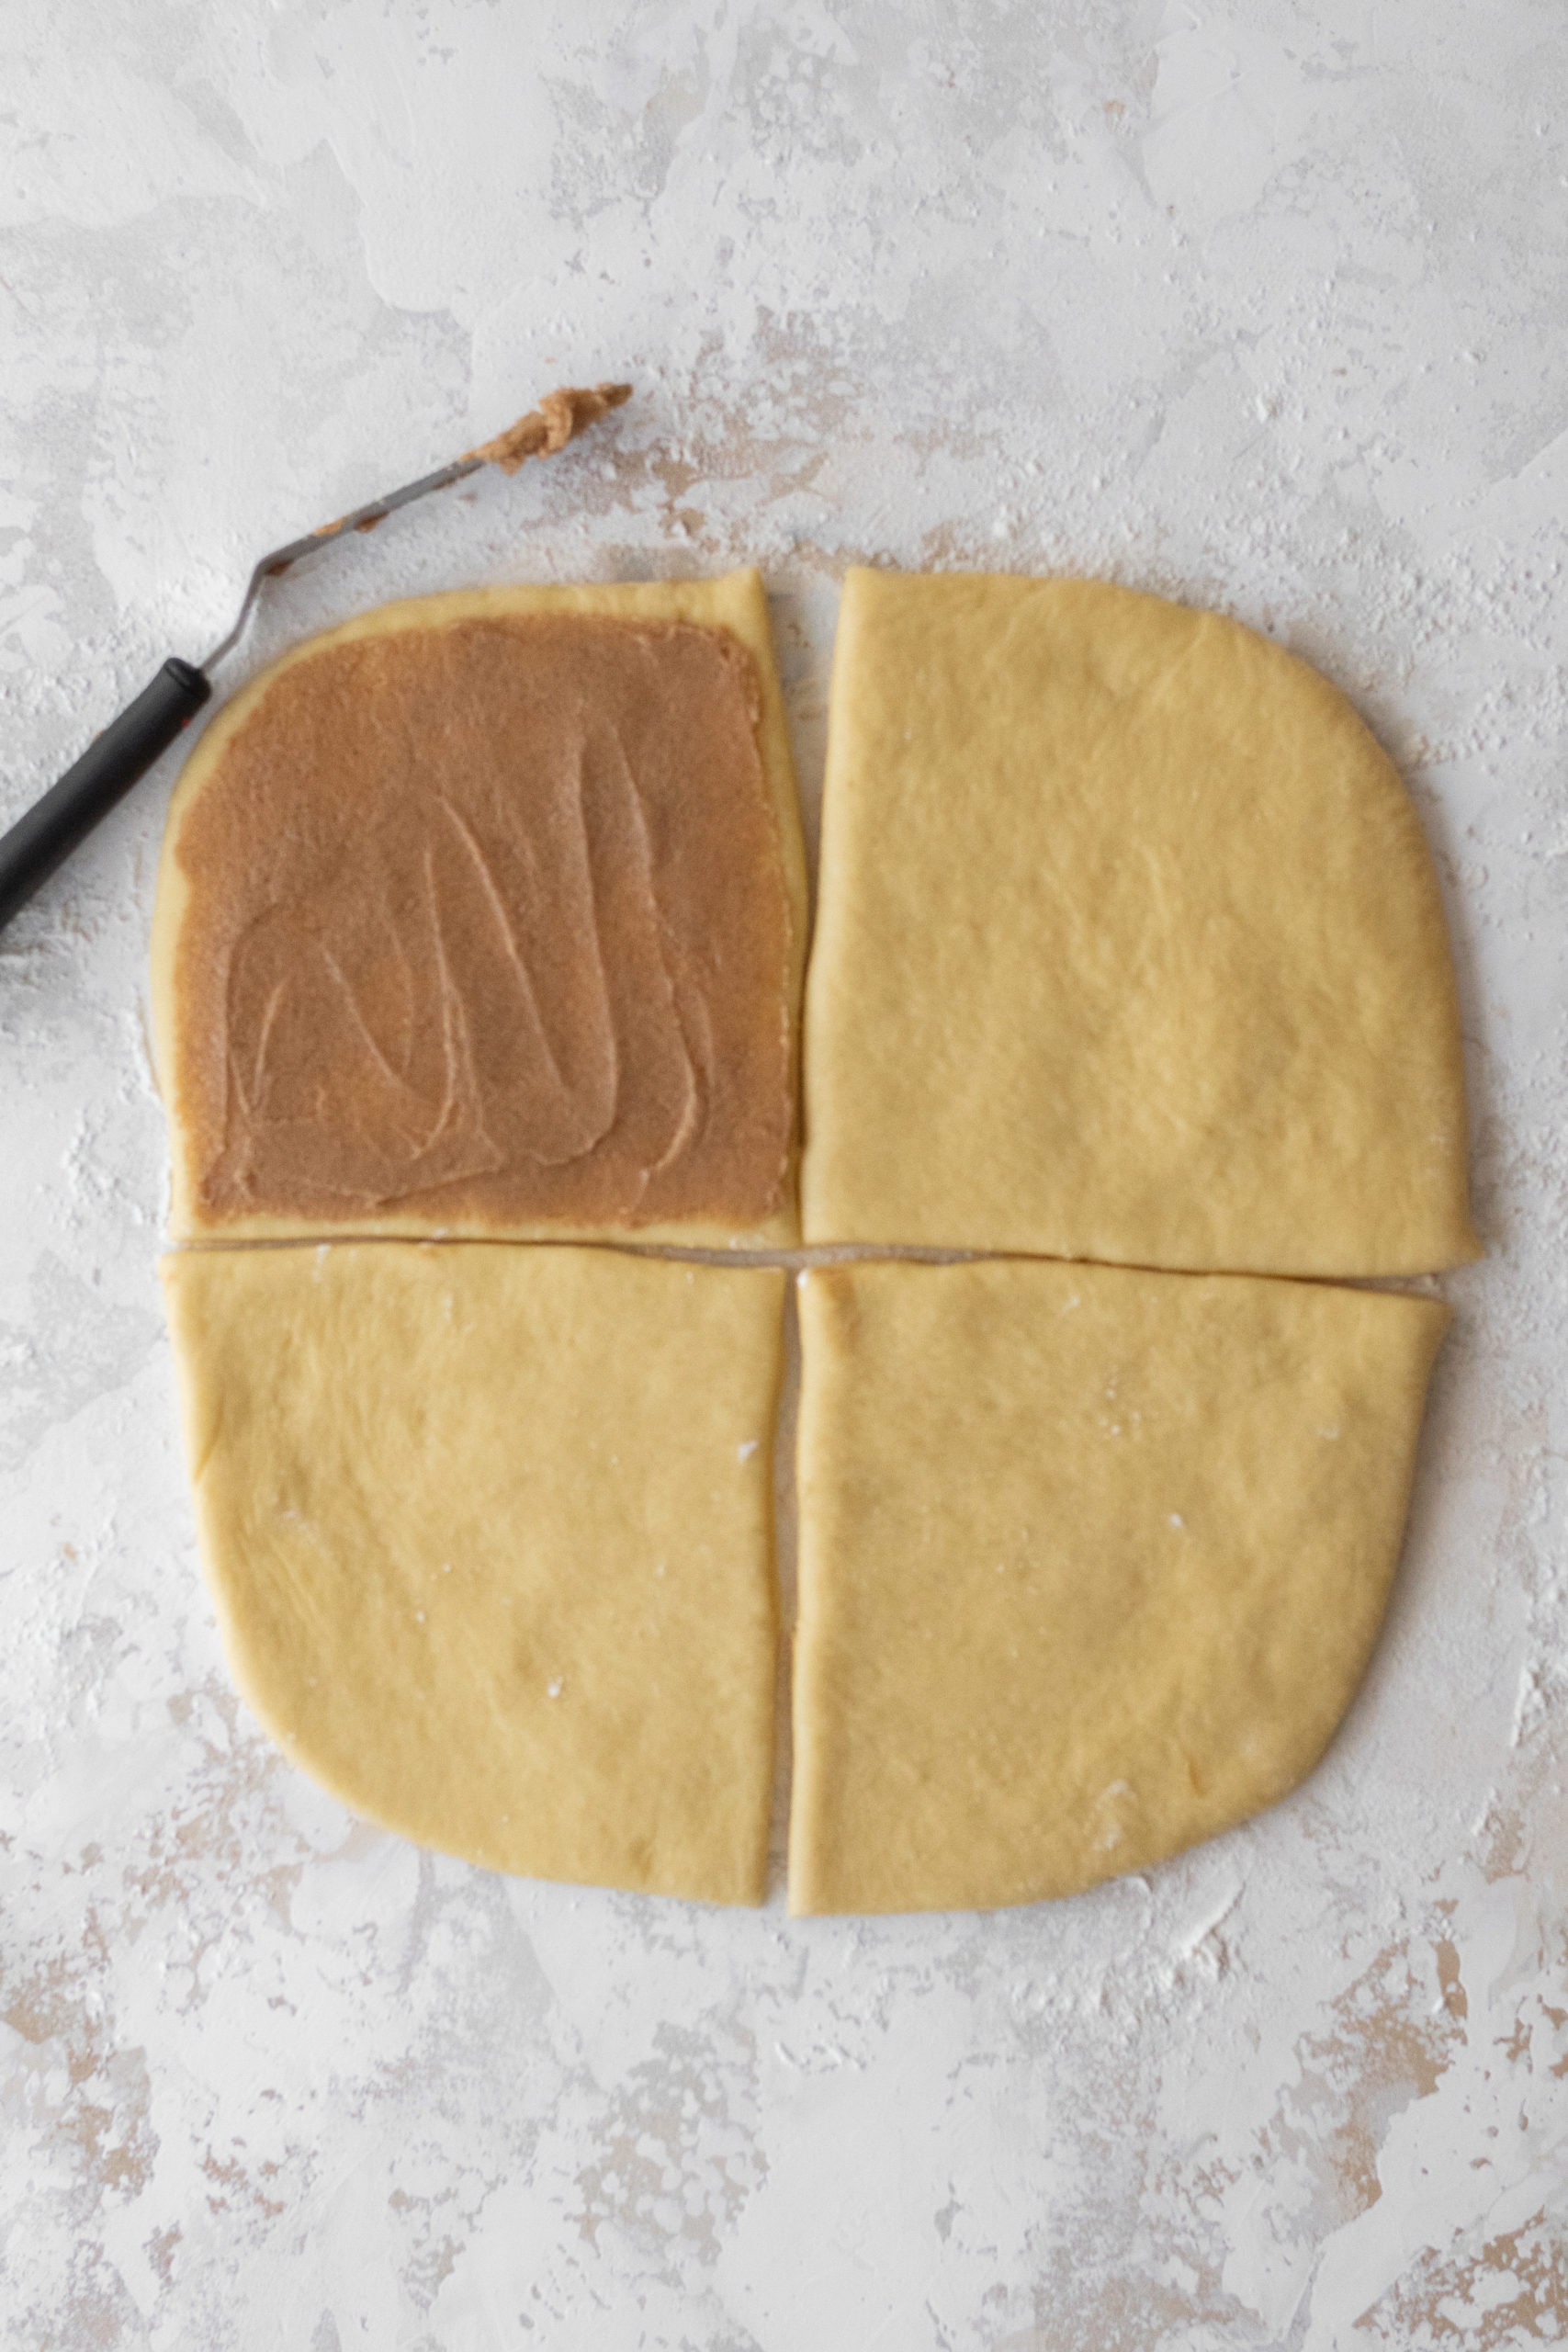
Then, cut the dough into four equal quadrants, like the below photo! after each quadrant is cut, spread an even layer of the maple brown sugar cinnamon butter on just three of the pieces! Layer each of the maple-butter pieces on top of one another, the buttered side up. Then, with the fourth piece that has no maple butter on it, layer that piece over top. Essentially at this point you’ll have a large stack of layered dough (with 4 layers). Cut off any uneven edges at this point – don’t worry, I was left with some weird edges, too!
Cutting The Dough
Then, lightly press the stacked dough down with your hands. Nothing crazy here, just a few light pats over top to make sure everything is sticking together! 🙂
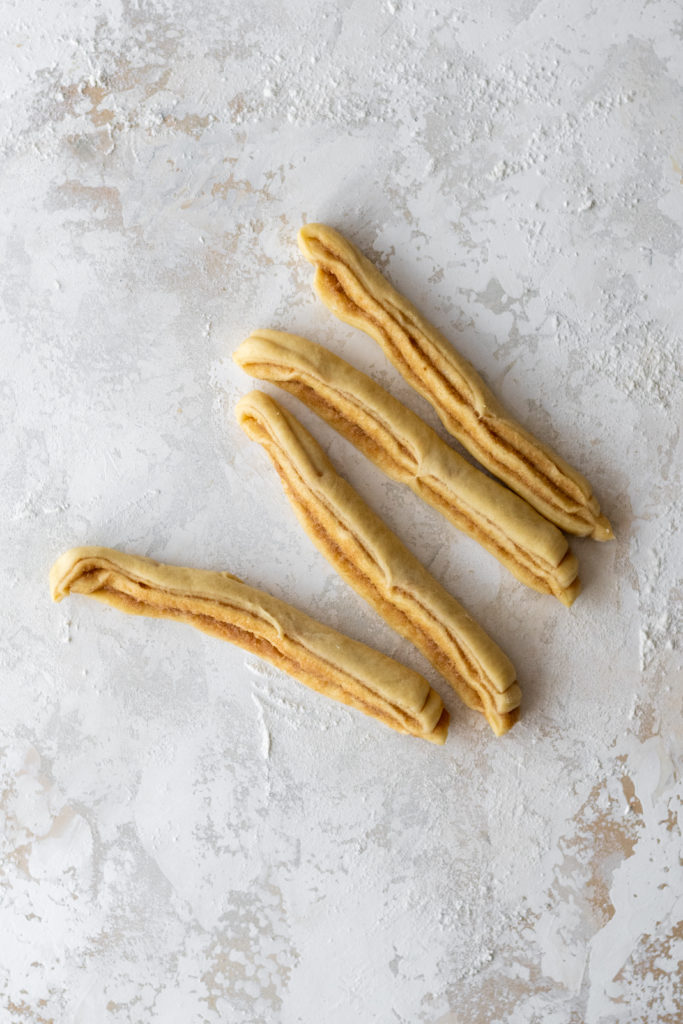
Next, cut the dough into 1 inch strips. I recommend using either a bench scraper or very sharp kitchen knife here and to cut straight down versus dragging the knife down the dough. Then, cut each strip in half again, short ways, so that you are cutting in half, not cutting the 1 inch strips down to 0.5 inch strips.
Creating The Twists
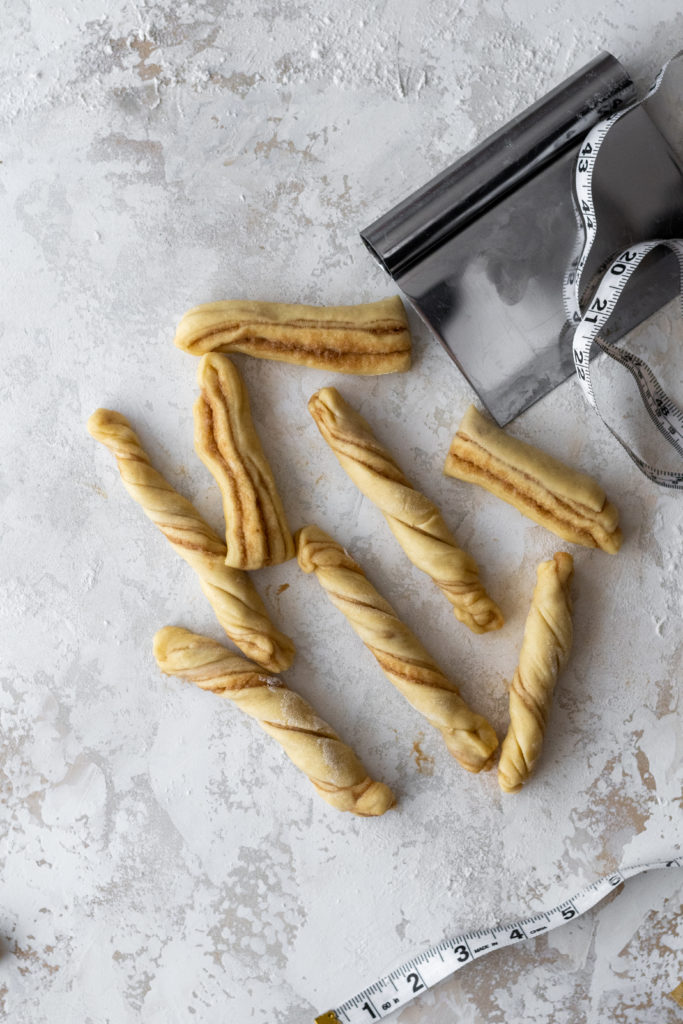
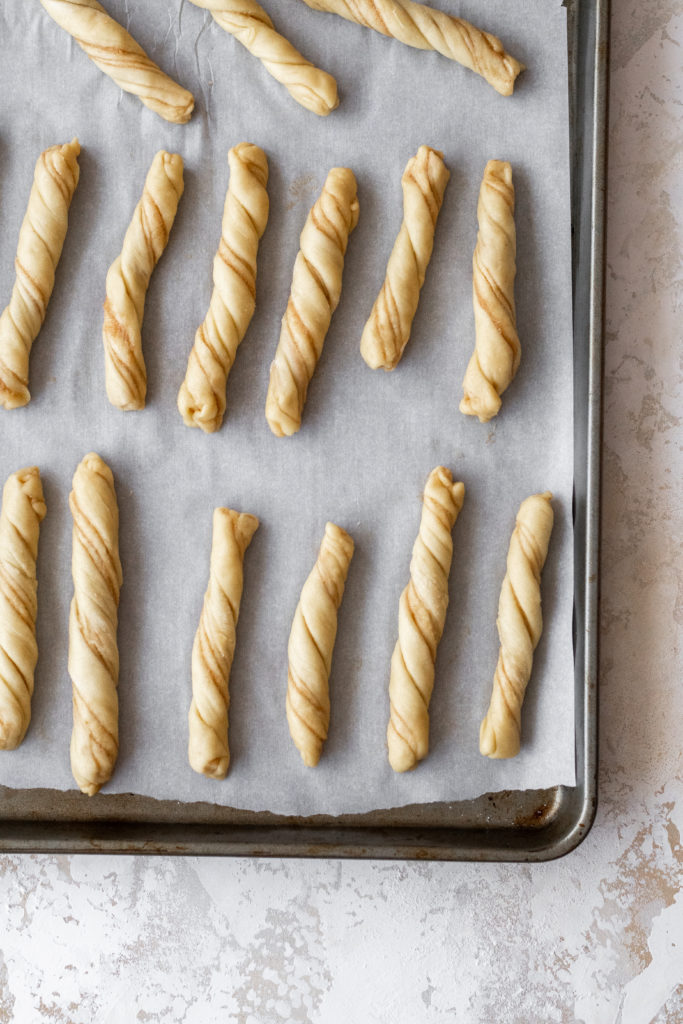
Then, with each strip of dough, grab both ends of the strip and stretch and twist each tightly (as shown below). Once twisted, pinch both ends of the dough so that the layers are pressed together on the edges. Repeat this process with each strip of dough until all have been twisted.
Baking The Twists
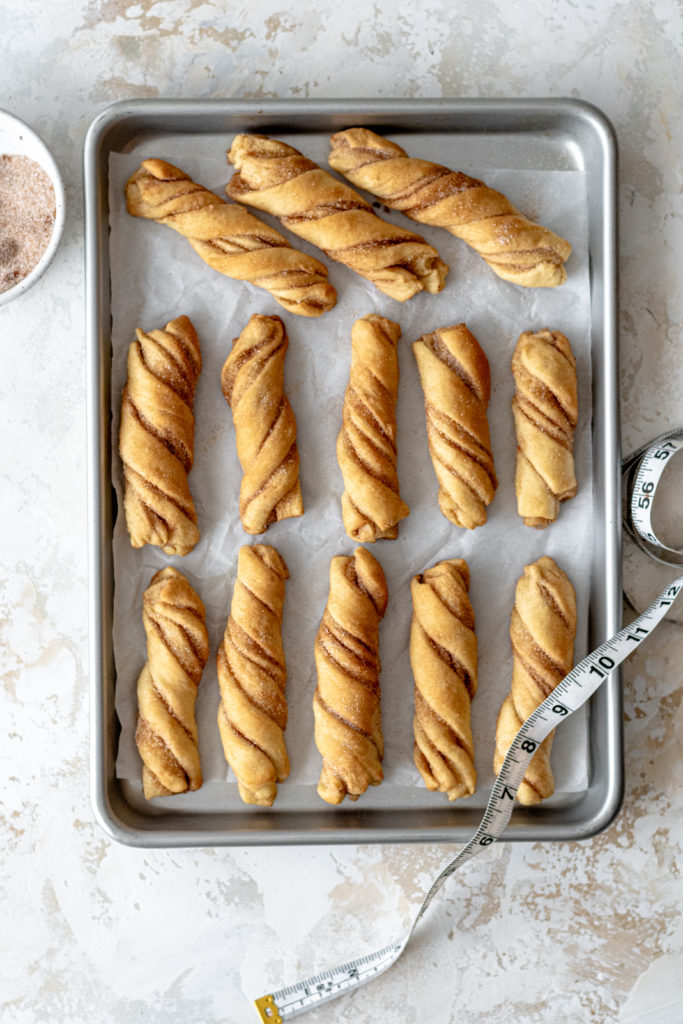
Then, line a baking sheet with parchment paper and place each twist on. Preheat the oven to 350 degrees Fahrenheit and bake for 12 minutes.
The Toppings…
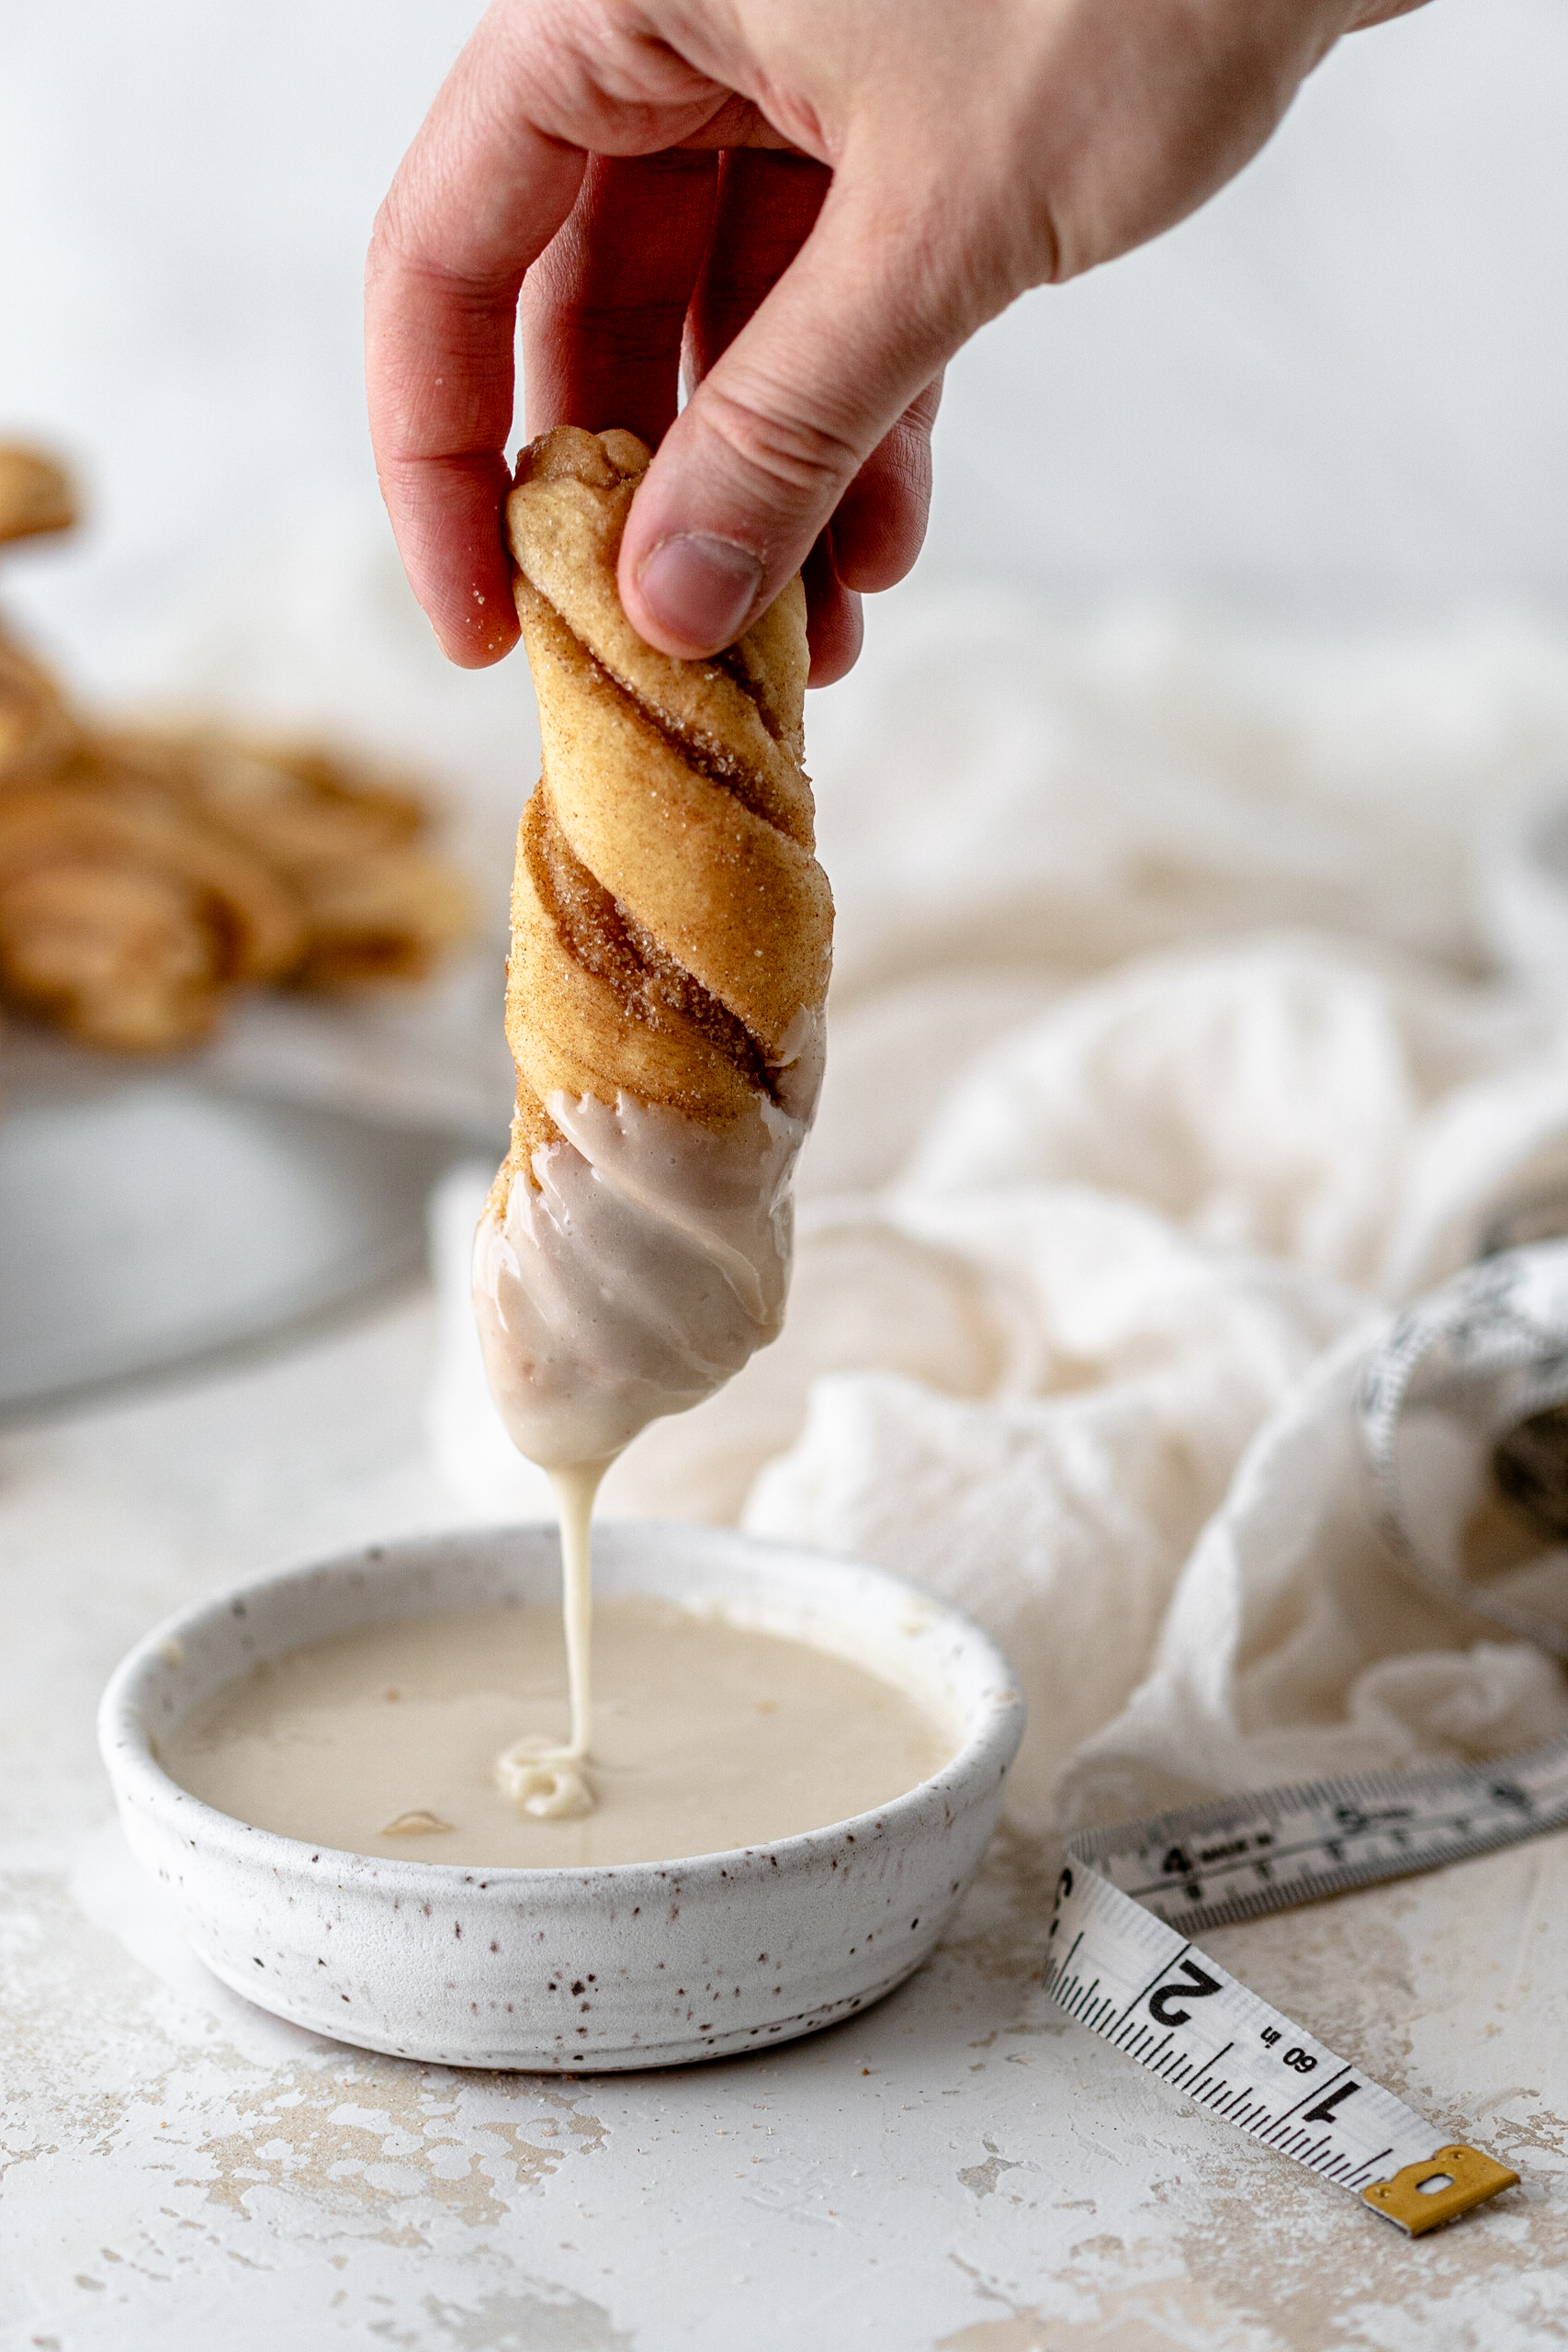
While the twists are still warm from the oven, drop them into a bowl of a mixture of 3 Tbsp cane sugar and 1 tsp cinnamon and coat each one. Feel free to also dip them into icing or even enjoy them with a cup of coffee!
I sincerely hope you guys love this one as much as I do! It’s on the more complicated side of some of my bakes, but once you do it once, it’s really not all that bad. 🙂


so good! whole family loveddddd it
Beautiful website. I can’t wait to make these this fall!
wow this is so yummy i love this recipe